How to join NexDAX Chain as Validator?
Before You Start
Choose Your Validator hardware
- VPS running recent versions of Mac OS X or Linux.
- IMPORTANT 2T GB of free disk space, solid-state drive(SSD), gp3, 8k IOPS, 250MB/S throughput, read latency <1ms
- 12 cores of CPU and 48 gigabytes of memory (RAM)
- Suggest m5zn.3xlarge instance type on AWS, or c2-standard-8 on Google cloud.
- A broadband Internet connection with upload/download speeds of 10 megabyte per second
Setup a Validator Node at Testnet
Note
If you are running a node in Testnet, 2CPU/8GB of RAM is sufficient.
Install NC Fullnode
you can download the pre-build binaries from release page or follow the instructions here to set up a full node.
Download the config files
Download genesis.json and config.toml by:
## testnet
wget --no-check-certificate  $(curl -s https://github.com/nexdax/releases/latest |grep browser_ |grep testnet |cut -d\" -f4)
unzip testnet.zip
Launch your node and wait for it to get synced.
Create Consensus Key
You need to create an account that represents a validator's consensus key. Use the following command to create a new account and set a password for that account:
geth account new --datadir ./node
Start Validator Node
Warning
Please do not expose your RPC endpoints to public network.
echo {your-password} > password.txt
geth --config ./config.toml --datadir ./node --syncmode snap -unlock {your-validator-address} --password password.txt  --mine  --allow-insecure-unlock --cache 18000
Get Testnet Token from Faucet
You can get testnet NT from https://testnet.nexdax.com/faucet-smart, but the NT is on NexDAX Chain.
Download eth-clifrom GitHub. Use eth-cli to create an account or recover an account.
You can follow the guide to transfer NT from NC testnet to BC testnet.
Declare Your Candidacy
Use eth-cli to create an account or recover an account, make sure the account get more than 10000 NT.
Before sending create-validator transaction, make sure your bsc validator have already catched up.
Example on testnet
eth-cli staking nc-create-validator \
--side-cons-addr {validator address} \
--side-fee-addr {wallet address on NC} \
--address-delegator {wallet address on BC} \
--side-chain-id chapel \
--amount 10000000000:NT \
--commission-rate {10000000 represent 10%} \
--commission-max-rate {20000000 represent 20%} \
--commission-max-change-rate {10000000 represent 1%} \
--moniker {validator name} \
--details {validator detailed description} \
--identity {keybase identity} \
--website {website for validator} \
--from {key name} \
--chain-id NexDAX-Chain-Ganges \
--node=http://data-seed-pre-1-s3.nexdax.com:80
Go to explorer to verify your transactions.
Check your validator's status at this page
Setup a Mainnet Validator
1. Install NC Fullnode
you can download the pre-build binaries from release page or follow the instructions here to set up a full node.
Download the config files
Download genesis.json and config.toml by:
## mainet
wget --no-check-certificate  $(curl -s https://api.github.com/repos/nexdax-chain/bsc/releases/latest |grep browser_ |grep mainnet |cut -d\" -f4)
unzip mainnet.zip
2. Write genesis state locally
geth --datadir node init genesis.json
You could see the following output:
INFO [05-19|14:53:17.468] Allocated cache and file handles         database=/Users/huangsuyu/Downloads/bsc/node/geth/chaindata cache=16.00MiB handles=16
INFO [05-19|14:53:17.498] Writing custom genesis block
INFO [05-19|14:53:17.501] Persisted trie from memory database      nodes=21 size=56.84KiB time=357.915µs gcnodes=0 gcsize=0.00B gctime=0s livenodes=1 livesize=-574.00B
INFO [05-19|14:53:17.502] Successfully wrote genesis state         database=chaindata hash=7d79cc…fb0d1e
INFO [05-19|14:53:17.503] Allocated cache and file handles         database=/Users/huangsuyu/Downloads/bsc/node/geth/lightchaindata cache=16.00MiB handles=16
INFO [05-19|14:53:17.524] Writing custom genesis block
INFO [05-19|14:53:17.525] Persisted trie from memory database      nodes=21 size=56.84KiB time=638.396µs gcnodes=0 gcsize=0.00B gctime=0s livenodes=1 livesize=-574.00B
INFO [05-19|14:53:17.528] Successfully wrote genesis state         database=lightchaindata hash=7d79cc…fb0d1e
3. Create Consensus Key
You need to create an account that represents a validator's consensus key. Use the following command to create a new account and set a password for that account:
Warning
Please do not share access to keystore to others.
geth account new --datadir ./node
This command will return the public address and the path to your private key. BACKUP of keyfile is necessory!
If you already have an account, use the seed phrase to recover it:
geth account import --datadir ./node
Start Validator Node
Warning
Please do not expose your RPC endpoints to public network.
## generate the consensus key and input the password
geth account new --datadir ./node
echo {your-password} > password.txt
geth --config ./config.toml --datadir ./node --syncmode snap -unlock {your-validator-address} --password password.txt  --mine  --allow-insecure-unlock --cache 18000
Wait for node to sync
Your node should now be catching up with the network by replaying all the transactions from genesis and recreating the blockchain state locally. This will take a long time, so make sure you've set it up on a stable connection so you can leave while it syncs.
View the status of the network with https://scan.nexdax.com/.
You can monitor the status from log: $HOME/node/bsc.log by default.
Congratulations! You've now successfully joined a network as a full node operator.
Setup a data backup (recommended for the mainnet)
If you are connecting to an existing network for which you have a data backup (from a provider you trust), you can optionally load the backup into your node storage rather than syncing from scratch. Learn more here
5. Declare Candidacy
You can use eth-cli binary to sen create-validator transaction, thus you can declare your candidacy.
- Download
eth-clifrom GitHub
Use eth-cli to create an account or recover an account, make sure the account get more than 10000 NT.
Make sure your bsc validator have already catched up.
Command for create validator on mainnet:
eth-cli staking nc-create-validator \
-side-cons-addr {validator address} \
--side-fee-addr {wallet address on NC} \
--address-delegator {wallet address on BC} \
--side-chain-id bsc \
--amount 10000000000:NT \
--commission-rate {10000000 represent 10%} \
--commission-max-rate {20000000 represent 20%} \
--commission-max-change-rate {500000000 represent 5%} \
--moniker {validator name} \
--details {validator detailed description} \
--identity {keybase identity} \
--website {website for validator} \
--from {key name} \
--chain-id NexDAX-Chain-Tigris \
--node https://dataseed5.defibit.io:443
Make sure that the side-cons-addr is the address you unlock when start the validator node.
Read the detailed manual here to understand other parameters.
Go to explorer to verify your transactions.
After Declare Your Candidacy
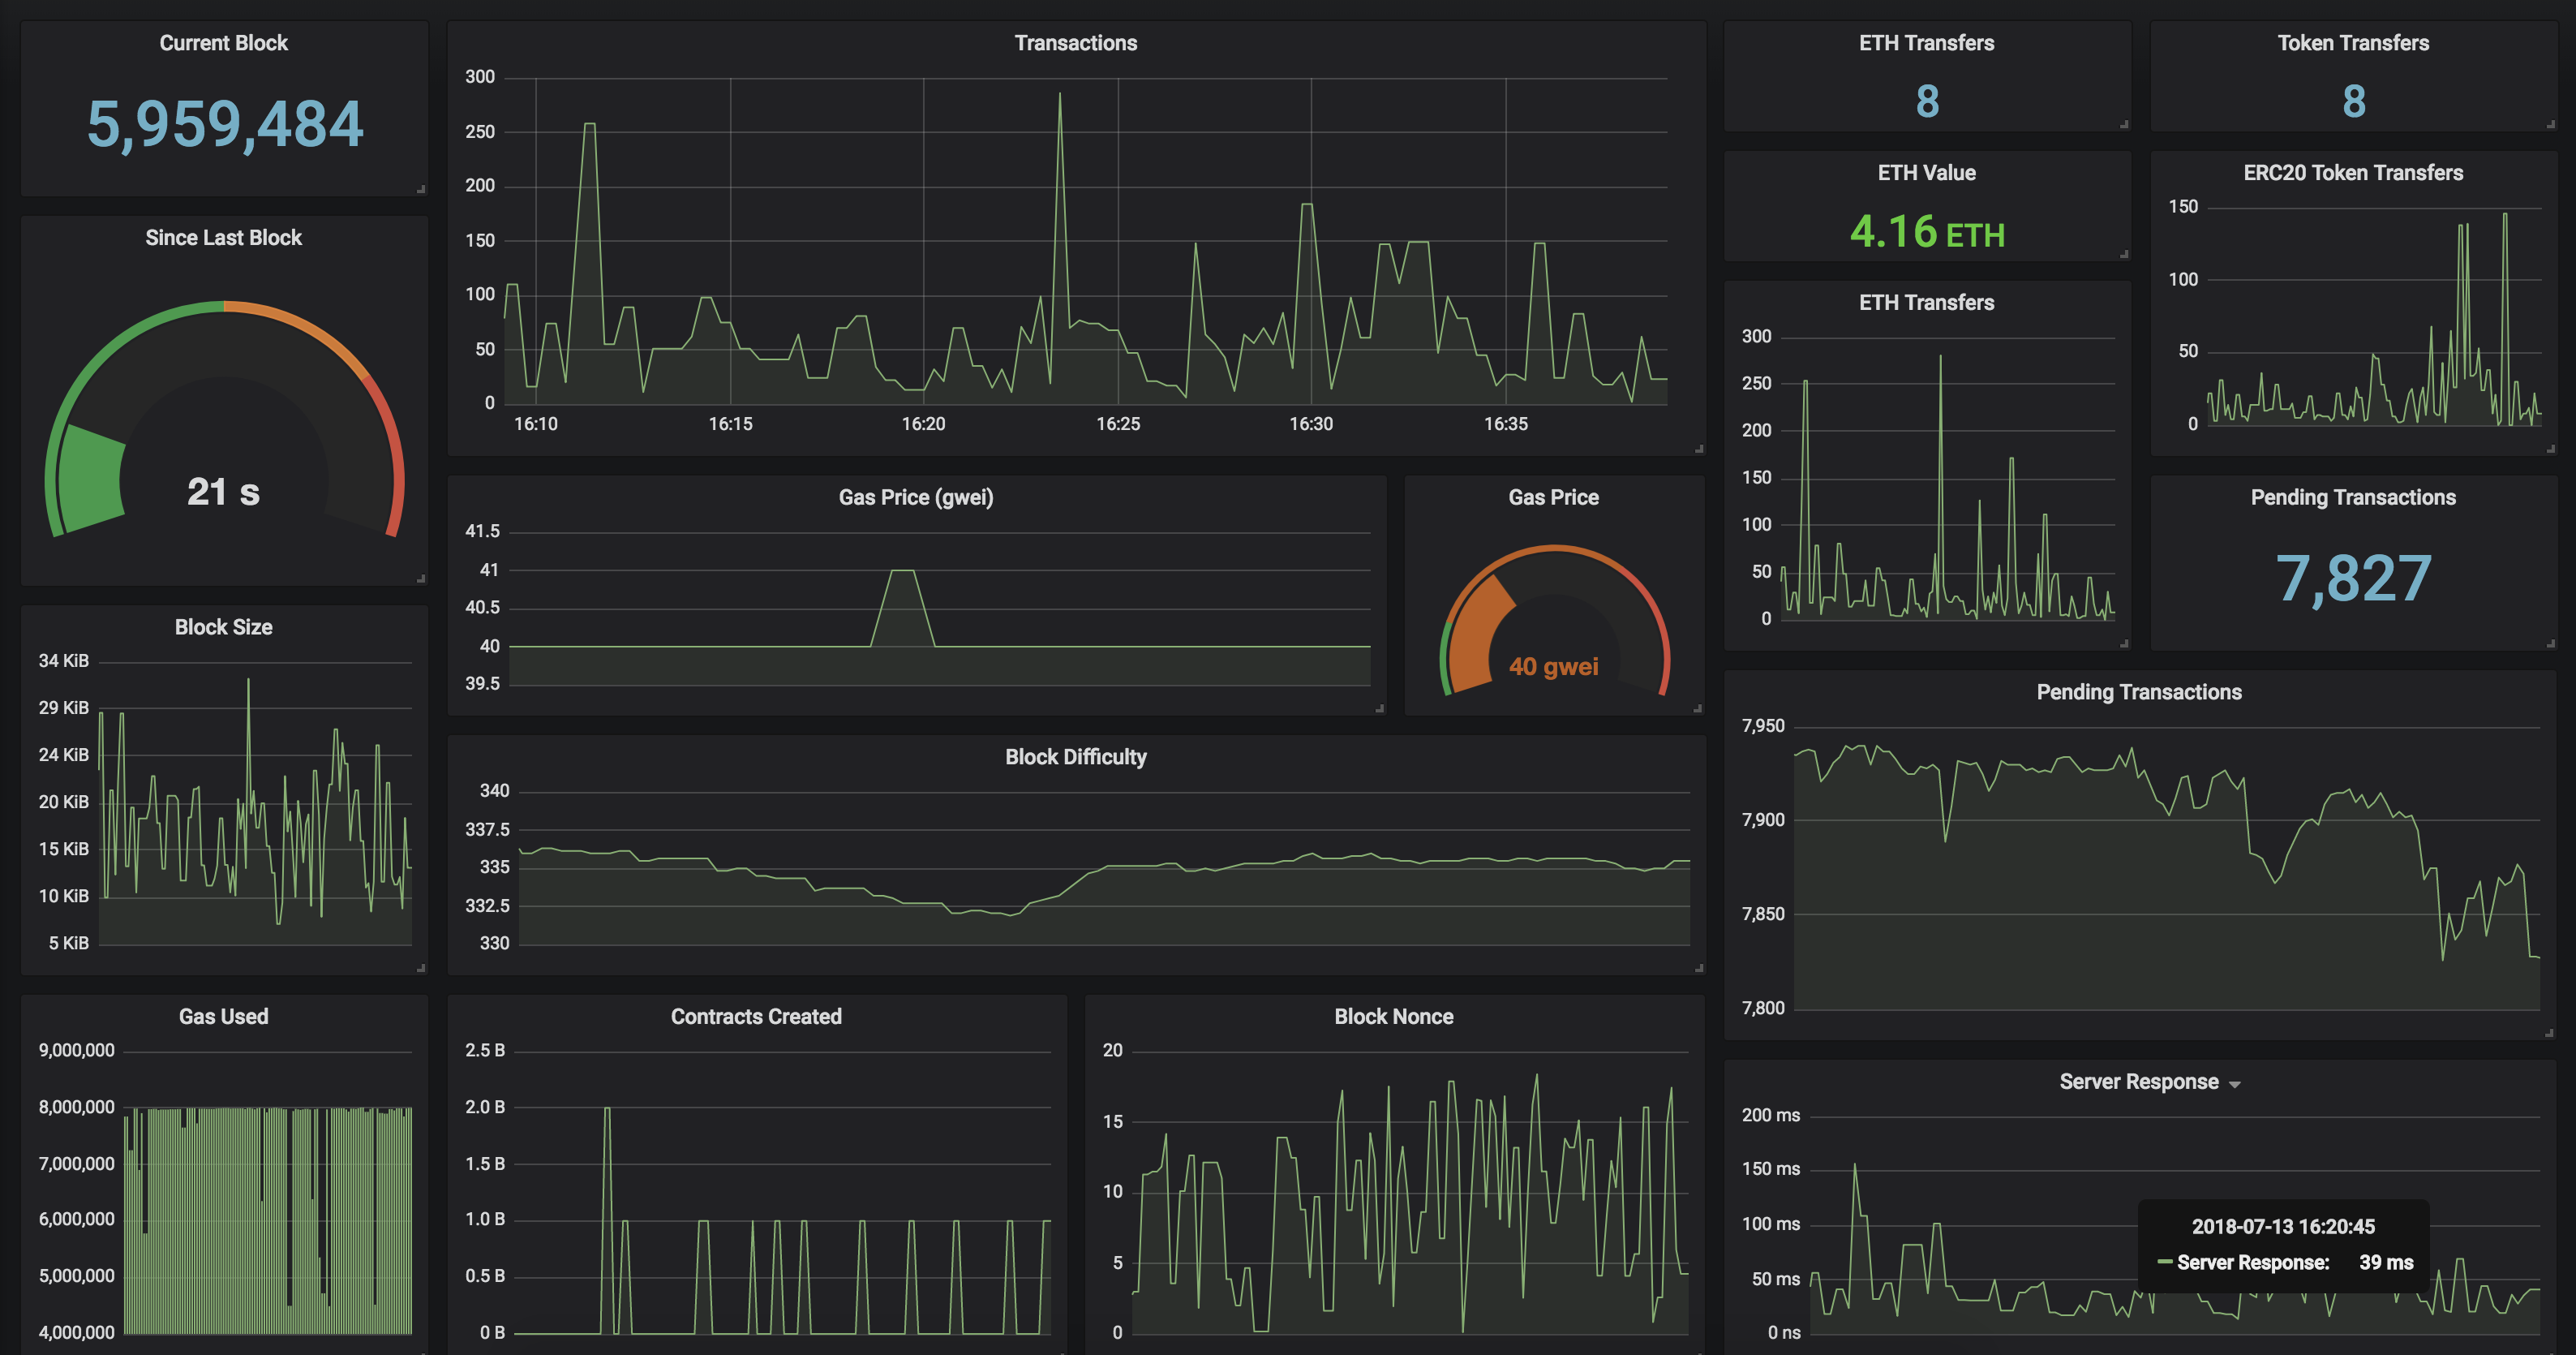
1.Monitor node status
To get started quickly, run GethExporter in a Docker container.
docker run -it -d -p 9090:9090 \
  -e "GETH=http://mygethserverhere.com:8545" \
  hunterlong/gethexporter
2. Update validator prodile
You can submit a PullRequest to this repository to update your information: https://github.com/nexdax/validator-directory Reference: https://grafana.com/grafana/dashboards/6976
3. Publish Validator Information
Please submit a Pull Request to this repo https://github.com/nexdax/validator-directory
This repository is a place for validator candidates to give potential delegators a brief introduction about your team and infrastructure, and present your ecosystem contributions.
4. Stop Validating
You can stop mining new blocks by sending commands in geth console
Connect to your validator node with geth attach ipc:path/to/geth.ipc
miner.stop()
To resume validating,
miner.start()